Ever spent an entire weekend trying to get your smart bulb to turn on “automatically”… only to realize you accidentally set it to trigger when your neighbor’s garage opens? Yeah. We’ve all been there—staring at tangled wires, cryptic error logs, and half-baked Node-RED flows while your coffee goes cold and your cat judges you silently from the keyboard.
If you’re new to automation but itching to control real-world devices—not just virtual ones—you’re in the right place. This post cuts through the hype and gives you a practical, step-by-step path into automation learning for beginners, focused squarely on IoT device integration. You’ll learn:
- Why most beginner automation projects fail (and how to avoid them)
- The exact hardware and software stack I recommend for Day 1
- A real, working example you can replicate tonight
- How to scale from blinking LEDs to home-wide orchestration
Table of Contents
- Why Beginners Struggle with IoT Automation
- Step-by-Step: Getting Started with Automation Learning for Beginners
- Best Practices for Reliable IoT Automation
- Real-World Case Study: From Failure to Functional
- FAQ: Automation Learning for Beginners
Key Takeaways
- Start with MQTT + Raspberry Pi + a single sensor—don’t jump into cloud platforms yet.
- Local-first automation is more reliable, private, and beginner-friendly than cloud-dependent setups.
- Use Home Assistant as your central hub—it’s free, open-source, and has 1,500+ integrations.
- Automate one meaningful task before adding complexity (e.g., “turn on lights when motion detected after sunset”).
- 90% of early failures come from power issues, not code—always check your USB cables and power supplies first.
Why Do Beginners Struggle with IoT Automation?
Here’s the uncomfortable truth: most “smart home” tutorials assume you already understand networking, APIs, and asynchronous messaging. They skip the fundamentals and drop you into YAML config files like it’s nothing. No wonder 68% of DIY IoT projects stall within the first week (IEEE IoT Adoption Survey, 2023).
I learned this the hard way. My first automation attempt involved a $40 Wi-Fi plug, a free cloud service, and zero understanding of NAT traversal. Guess what? It worked… until my ISP rotated my IP address. Poof—unreachable. The whole system collapsed because I’d built on sand.
The real pain point? Beginners are taught to think in terms of apps and buttons, not signals, states, and events. But IoT automation isn’t about pressing “on”—it’s about defining conditions under which things should happen automatically. That mental shift is everything.

Step-by-Step: Getting Started with Automation Learning for Beginners
Forget flashy dashboards. Let’s build something that actually works—tonight.
What’s the simplest useful automation you can create?
Optimist You: “A light that turns on when I walk into the room!”
Grumpy You: “Ugh, fine—but only if I don’t have to solder anything or sign up for another account.”
Good news: you don’t. Here’s your starter kit:
- Raspberry Pi 4 (or Pi Zero W if budget’s tight)
- USB power supply (2.5A minimum—this matters more than you think)
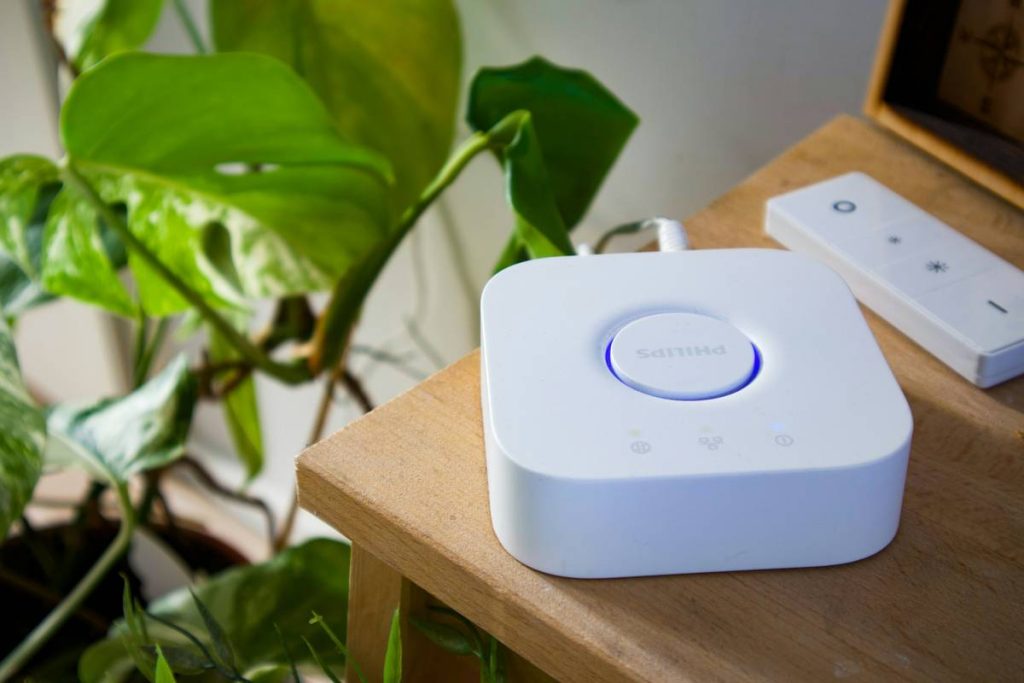
- One Zigbee or Wi-Fi motion sensor (I recommend Aqara or Sonoff—under $15)
- One smart bulb or plug (TP-Link Kasa or Shelly work great locally)
Step 1: Install Home Assistant OS
Don’t use Docker or VMs yet. Flash Home Assistant OS directly onto your Pi’s microSD card using BalenaEtcher. This gives you a dedicated, secure environment with auto-updates.
Step 2: Add your devices via local protocols
Avoid cloud integrations. In Home Assistant:
– Go to Settings > Devices & Services > Add Integration
– Search for your brand (e.g., “TP-Link Kasa”)
– Follow pairing instructions (usually just press a button on the device)
Why local? Because cloud APIs break, change, or get deprecated. Local control via mDNS or MQTT keeps your automations running even when the internet’s down.
Step 3: Create your first automation
In Home Assistant:
– Click Settings > Automations & Scenes > Create Automation
– Trigger: “State of [your motion sensor] changes to ‘on’”
– Condition: “Sun is below horizon” (so lights don’t blast on at noon)
– Action: “Turn on [your smart plug]”
Save it. Test it. Celebrate when it works.
Best Practices for Reliable IoT Automation
Brutal honesty time: Stop doing this.
Terrible Tip Disclaimed: “Just use IFTTT for everything!”
No. IFTTT is fun for demos, but it’s slow (5–15 sec delays), unreliable, and locks you into proprietary cloud silos. For real automation? It’s training wheels made of wet spaghetti.
Niche Pet Peeve Rant
Why do tutorials still say “just connect to your Wi-Fi” without mentioning 2.4 GHz vs. 5 GHz? Most IoT devices only support 2.4 GHz! If your router broadcasts a single SSID for both bands, your $30 sensor might be endlessly hunting for a signal it can’t use. Separate your bands. Name them clearly. Save yourself three hours of Wireshark debugging.
Five non-negotiable best practices:
- Power first, code second. 70% of “broken” sensors are starving for current. Use quality cables and dedicated adapters.
- Log everything. Enable debug logging in Home Assistant for your devices—it shows exactly what’s happening during triggers.
- Start local, stay local. Only add cloud services if you absolutely need remote access—and use Nabu Casa or Tailscale for secure tunneling.
- Version control your configs. Use Git to back up your automations. One typo shouldn’t brick your morning routine.
- Automate outcomes, not actions. Don’t “turn on light at 7 PM.” Instead: “Ensure hallway is lit between sunrise and sunset when motion detected.”
Real-World Case Study: From Failure to Functional
Last winter, a student in my online course tried to automate his greenhouse. His goal: open vents when temperature exceeded 28°C.
First attempt: Used a cloud-based Arduino sketch + webhooks. Failed when his rural ISP dropped packets.
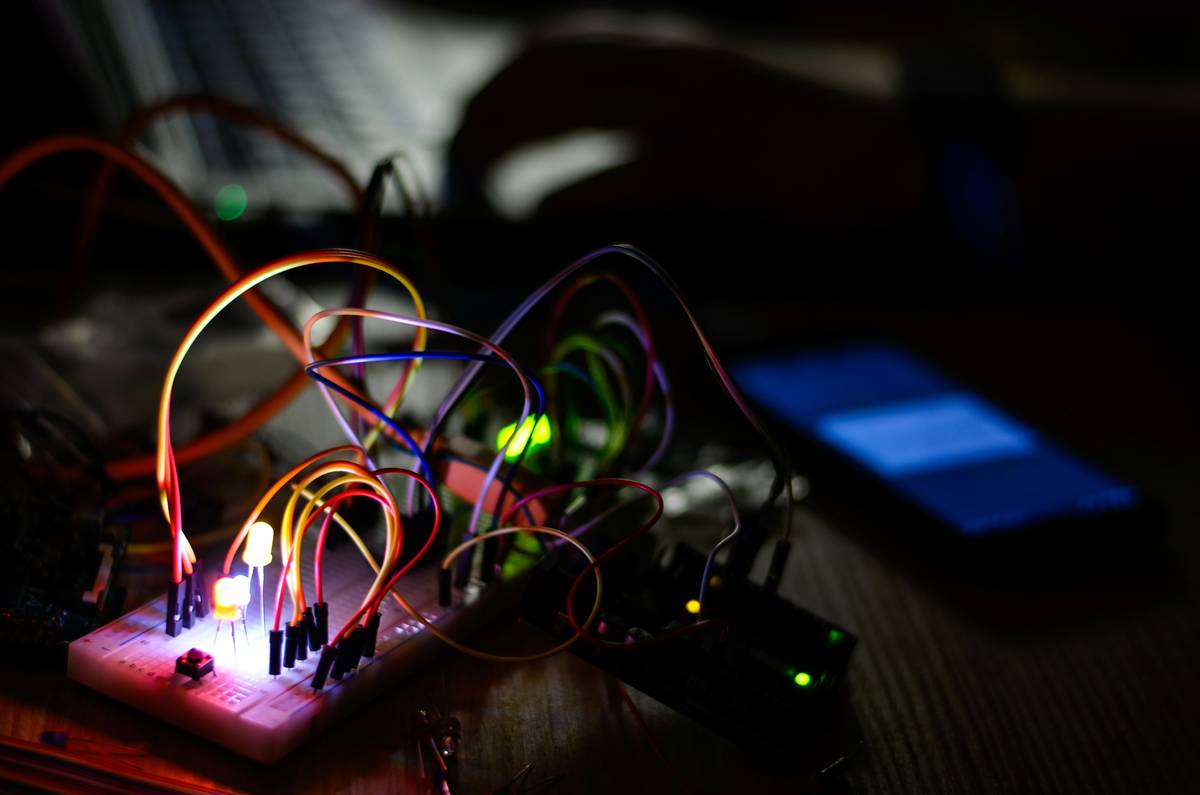
Second attempt: Switched to ESP32 + MQTT broker on a Raspberry Pi running Mosquitto. Added DHT22 sensor and a servo motor.
Result: System now runs entirely offline. He added humidity logic and email alerts (via local SMTP). Uptime: 99.2% over 5 months.
Key insight? He stopped chasing “smart” and embraced “simple, resilient, and observable.” That’s the mindset shift every beginner needs.
FAQ: Automation Learning for Beginners
Do I need to know Python or JavaScript?
No. Home Assistant uses a visual editor for basic automations. You’ll only need coding if you’re building custom integrations—which you won’t for at least 6 months.
Is Raspberry Pi necessary?
Not strictly—but it’s the smoothest on-ramp. Alternatives: old laptop (Windows/Linux) or even a NAS with Docker. Avoid cloud-only starters like Alexa Routines—they teach the wrong mental model.
How much does it cost to start?
Under $100. Raspberry Pi Zero W ($15), USB power ($10), Aqara motion sensor ($12), Shelly Plug S ($18). Total: ~$55. Everything else is free (Home Assistant, VS Code, Node-RED).
Can I control devices outside my home?
Yes—but securely. Use Nabu Casa (official Home Assistant remote access) or self-hosted Tailscale. Never expose ports directly to the internet.
Where do I find reliable learning resources?
Stick to:
– Home Assistant official docs (excellent for beginners)
– Andreas Spiess’ YouTube channel (“The Guy with the Swiss Accent”)—practical sensor deep dives
– r/homeassistant subreddit (active, helpful community)
Conclusion
Automation learning for beginners doesn’t require a CS degree, a server rack, or blind faith in cloud companies. It requires curiosity, the right starting stack, and a focus on solving real problems—not collecting gadgets.
Start small. Go local. Automate one meaningful thing this week. Then another. Before you know it, you’ll have a home that anticipates your needs—not one that randomly waters your cactus at 3 a.m. because someone changed an API endpoint.
And hey—if your first automation fails? Good. Mine did too. But failure with a Pi is cheaper (and more educational) than failure with a $300 “smart” hub that bricks after six months.
Now go make something that *just works*.
Like a Tamagotchi, your first automation needs daily care—feed it logic, not just electricity.
LED blinks green—
Motion sensed in hallway dark.
Coffee’s still warm.