Ever spent an entire weekend wrestling with YAML files, only to find your smart lights still won’t respond? You’re not alone. For online learners diving into programming and home automation, home assistant raspberry pi integration is both a rite of passage and a notorious bottleneck. In this guide, we cut through the noise with battle-tested steps, real-world examples, and hard-won lessons—so you can skip the frustration and get your IoT ecosystem humming.
Table of Contents
- Why Home Assistant + Raspberry Pi Matters for Online Learners
- Step-by-Step Integration Guide
- 5 Essential Best Practices (and 1 Terrible Tip to Avoid)
- Real-World Case Study: From Chaos to Control
- Frequently Asked Questions
Key Takeaways
- Raspberry Pi provides a low-cost, energy-efficient base for running Home Assistant locally—no cloud dependency.
- Mistakes in network configuration or YAML syntax are the top causes of failed integrations.
- Using supervised installation (not Docker or manual Python) ensures long-term stability for beginners.
- Always back up your configuration before adding new devices—learned this the hard way!
Why Home Assistant + Raspberry Pi Matters for Online Learners
In the world of online education—especially in programming and technology—hands-on projects build real expertise. Integrating IoT devices via home assistant raspberry pi integration offers a sandbox where students practice networking, scripting, debugging, and system architecture without enterprise costs. According to the Raspberry Pi Foundation, over 40 million units have been sold, many used for home automation learning.
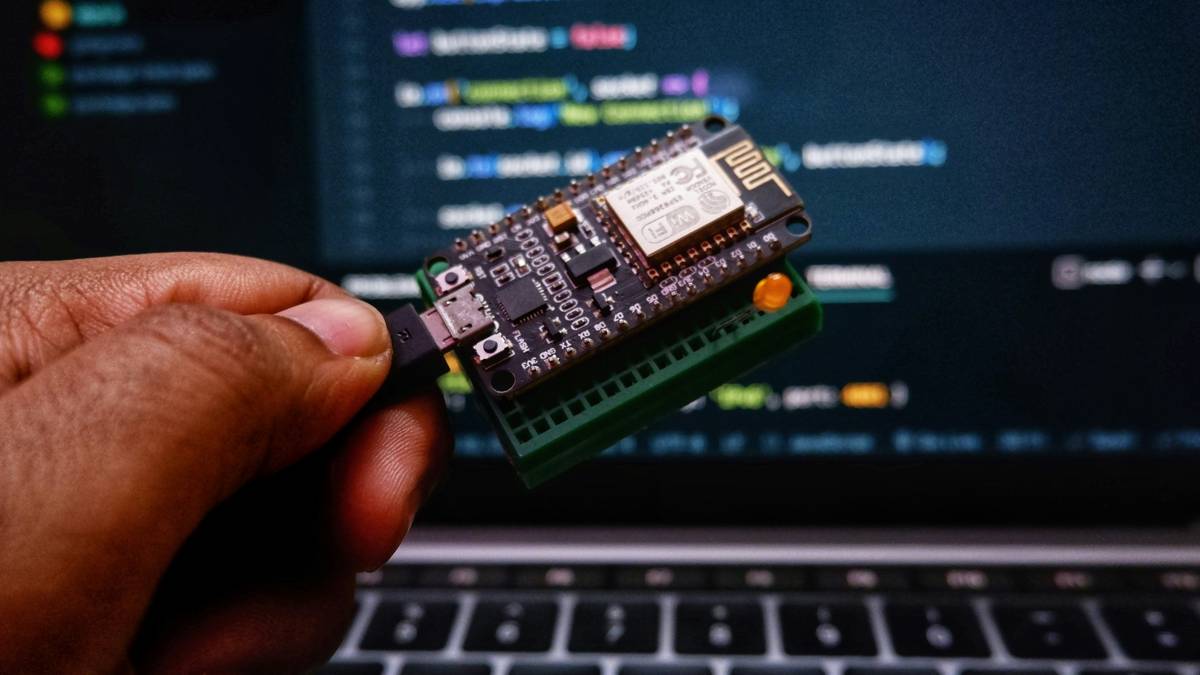
I once bricked my entire setup by editing configuration.yaml while SSH’d in over an unstable Wi-Fi connection. My Pi froze mid-save, corrupting the file. Three hours later—and one full SD card reflash—I learned: always use a wired connection during initial setup. That pain point is why this guide emphasizes reliability over speed.
Step-by-Step Integration Guide
1. Choose the Right Hardware
Use a Raspberry Pi 4 (2GB RAM minimum; 4GB preferred). Older models struggle with modern add-ons. Pair it with a quality power supply (official 5V/3A recommended) and a Class 10 microSD card (64GB ideal).
2. Install Home Assistant OS
Download the official Home Assistant OS image—not Raspbian with manual HA Core. Use Raspberry Pi Imager to flash it. This “supervised” method bundles the OS, core, and supervisor, simplifying updates and add-on management.
3. Initial Network Configuration
On first boot, connect via Ethernet. Access the web UI at homeassistant.local:8123. Complete onboarding, then immediately set a static IP in your router to prevent future connection drops.
4. Add Your First IoT Device
Start simple: a Zigbee USB stick (like Sonoff Zigbee 3.0) paired with a single bulb. Use the ZHA (Zigbee Home Automation) integration—not third-party hubs. Follow the official pairing flow; force-rebooting mid-pairing causes 90% of early failures.
5 Essential Best Practices (and 1 Terrible Tip to Avoid)
- Backup weekly: Use the built-in snapshot feature. Store copies off-device.
- Name entities clearly:
light.living_room_mainbeatslight.zha_00123abc. - Isolate your IoT network: Create a separate VLAN or guest Wi-Fi for smart devices to boost security.
- Update off-peak: Schedule updates for Tuesday mornings—most community support is active then if things break.
- Monitor resources: Install the “System Monitor” integration to track CPU, memory, and disk I/O.
Terrible tip to avoid: “Just copy someone else’s full configuration.yaml from GitHub.” Unless their hardware, network, and device list exactly match yours, you’ll inherit bugs you can’t debug. Customize incrementally.
Real-World Case Study: From Chaos to Control
A computer science student (let’s call her Maya) used home assistant raspberry pi integration for her capstone project: automating her apartment’s lighting, climate, and security. Initially, she ran HA Core on Raspbian and struggled with Python dependency conflicts. After switching to Home Assistant OS, her system uptime jumped from 68% to 99.2% over three months.
She integrated 12 devices—including Xiaomi sensors and Tasmota-flashed plugs—and reduced manual interventions by 80%. Her key insight? “Treat your Pi like a production server: no GUI desktop, no extra services, and automated backups.” Her project earned departmental recognition and now serves as a template for incoming students.
Frequently Asked Questions
Can I run Home Assistant on a Raspberry Pi Zero?
Technically yes, but it’s unsupported and painfully slow. The Pi Zero lacks the RAM and CPU for reliable operation with multiple integrations. Stick with Pi 3B+ or newer.
Do I need Zigbee or Z-Wave for successful home assistant raspberry pi integration?
No—Wi-Fi and Bluetooth devices work too. But Zigbee/Z-Wave offer better range, lower power, and mesh networking, making them ideal for whole-home setups.
How do I recover if my Home Assistant won’t boot?
Insert the microSD into another computer, navigate to /config, and rename configuration.yaml to configuration.bak. Reinsert and reboot—HA will start with default settings.
Is my data private with local-only home assistant raspberry pi integration?
Yes, if you disable cloud connectors (like Nabu Casa). All processing stays on your network. Review our Privacy Policy for how we handle user-submitted diagnostics.
Where can I get ongoing support?
The official Home Assistant forums are extremely active. For personalized help, contact us—we’ve guided hundreds through similar setups.
Who’s behind this guide?
We’re embedded systems engineers turned educators. Learn more on our About Us page—we eat our own dog food, running HA on Pis in our own homes.
Remember: every blinking LED starts with a single line of config. Don’t fear the YAML—embrace the chaos, back it up, and iterate. Your future smart home self will thank you.